11 October 2026
Showers, clearing in the afternoon, but cloud and drizzle remaining about western slopes.
Loading outdoor place details…
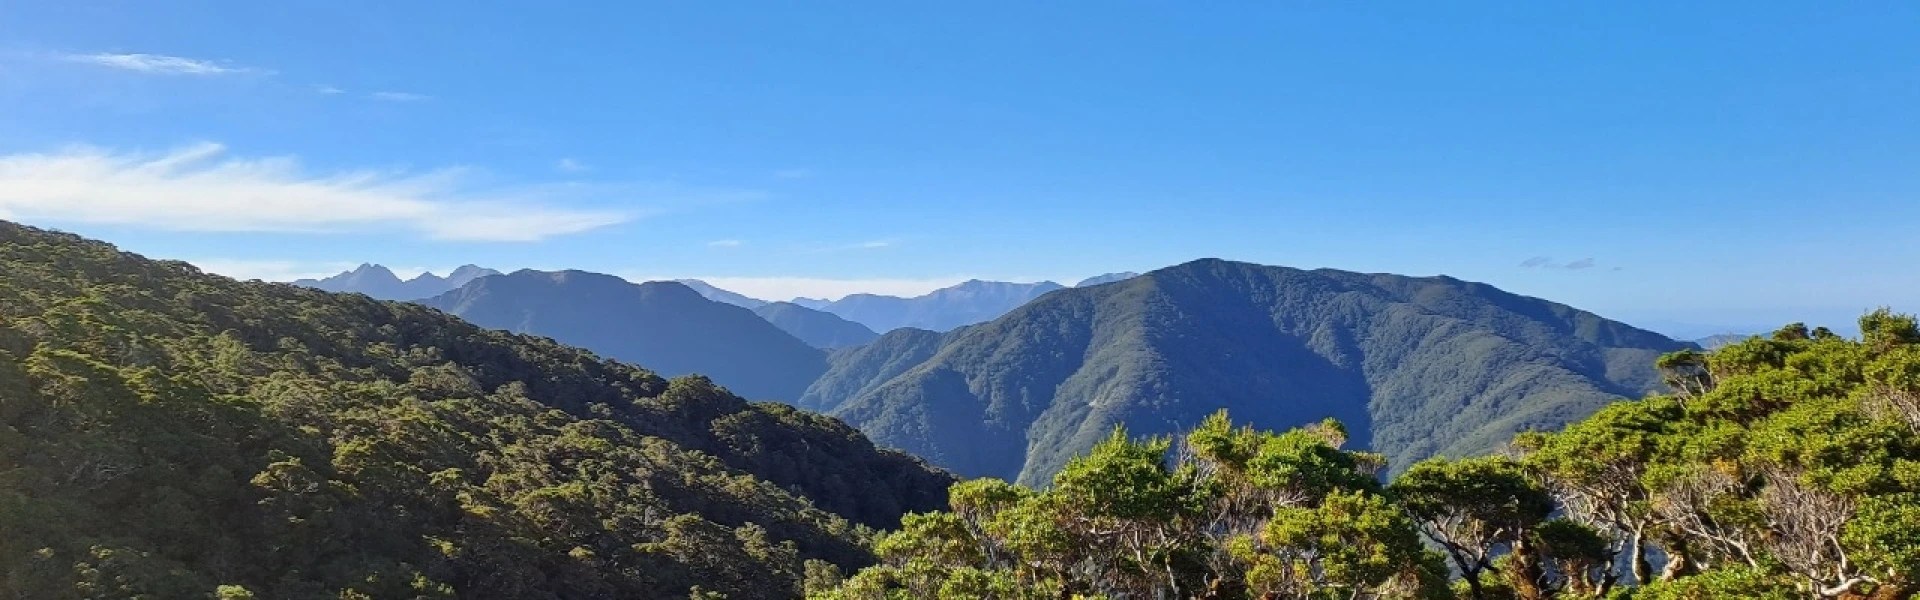
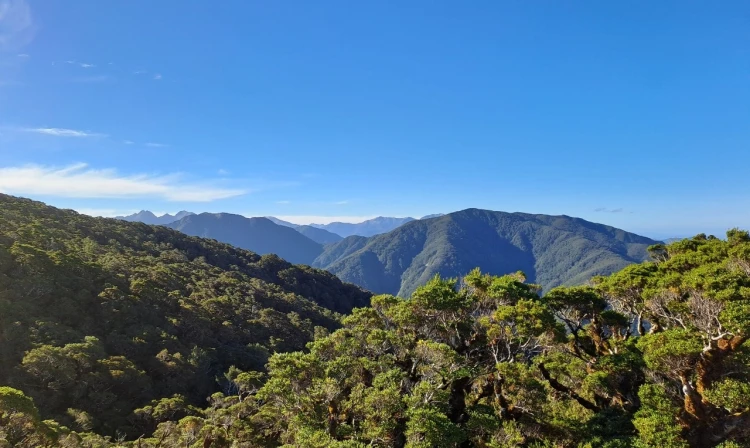
Tararua Forest Park
This is a challenging circuit via Cone, Neill Ridge, Mt Hector, Alpha and Bull Mound. You need strong fitness, backcountry tramping experience and good weather to attempt this trip.
Distance
31.5 km
Walking time
3 days
Difficulty
Advanced, Expert
Dogs
Allowed — check local rules
Wheelchair access
Not marked friendly
Current status
Weather outlook
Issued 10 Oct 2026, 9:23 pm
11 October 2026
Showers, clearing in the afternoon, but cloud and drizzle remaining about western slopes.
12 October 2026
Fine, apart from morning drizzle. A few showers at night.
13 October 2026
Showers, some possibly heavy.
14 October 2026
Showers clearing.
15 October 2026
Showers, some possibly heavy.
Regional guidance only; elevation and terrain can produce different conditions.
Explore the area
Explore the track route and surrounding area before you set out.
From Waiohine Road End and Campsite, cross the high suspension bridge over the Waiohine River and follow the signposted track toward Cone Hut. The track ascends the ridge before continuing toward Cone Saddle. From the saddle, it climbs to the summit of Cone. Just before reaching Cone, a track junction appears—take the left-hand track to continue toward Neill Saddle and Neill Ridge.
Time: 6-9 hours to Mt Hector Follow the track along Neill Ridge, which has frequent undulations and steep sections requiring clambering. The track descends to Neill Saddle before climbing steeply to the Neill high point (1158 m). From here, it continues along the ridge. Shortly before reaching the bush line, you’ll arrive at Winchcombe Biv , a small two-bunk bivvy. There is no formed route from Winchcombe Bivouac to Mt Hector. You will need to navigate yourself, passing Winchcombe Peak and then following the ridge to Mt Hector. The ridge is narrow in places with steep drop-offs. This section is completely exposed, with no shelter from extreme weather. Like much of the Tararua tops, it becomes dangerous in high winds, rain, snow, freezing temperatures, or low visibility. Before leaving Winchcombe Bivouac, assess conditions carefully—if the weather is poor, wait in the bivvy for the weather to improve or turn back. At Mt Hector, the route joins the Southern Crossing track. The summit is marked by a large wooden cross, originally erected in 1950 (and replaced in 1980) as a memorial to trampers who lost their lives during World War II. From here, you can follow the Southern Crossing track down to Kime Hut. If planning to continue toward Alpha Hut instead, use Mt Hector as a decision point. If you are fatigued, it is late, or the weather is poor, it may be safer to descend to Kime Hut rather than traverse the exposed tops to Alpha Hut .
Time: 4-5 hr from Mt Hector Time: 5-6 hr from Kime Hut If you are starting from Kime Hut, follow the ridge over Field Peak to Mount Hector (1,529 m). From Mt Hector, continue south along the Southern Crossing. The exposed ridge of the Dress Circle takes you to the top of Aston, where there is a signposted junction to Elder Hut . Continue along the ridge route over Alpha (1361 m) and descend to Alpha Hut , just below the bush line.
Time: 3 hours Before leaving Alpha Hut, assess whether you can safely cross the Tauherenikau River. There is an unbridged crossing near Cone Hut, and if it has been raining, the river may be impassable. If conditions are unsafe, consider waiting at Alpha Hut or taking an alternative exit, such as Marchant Ridge via the Southern Crossing Track. From Alpha Hut, continue on the Southern Crossing Track, descending from 1187 m to the saddle at Hells Gate. The track then climbs to Marchant Ridge. At the top of the ridge, a junction marks the turnoff to Bull Mound. Take the left-hand track (Bull Mound Track) toward Cone Hut. The track follows the ridge to Bull Mound (1060 m), then descends steeply into the Tauherenikau Valley. It emerges on the true right of the Tauherenikau River, downstream from Cone Hut. Cross to the true left, where you will meet the Tauherenikau Track. Follow this track upstream a short distance to reach Cone Hut .
Time: 2 hour 30 minutes From Cone Hut, the track climbs towards the ridge. Soon you reach a track junction – take the right hand track leading straight up to the ridge, rather than the left hand track that follows the valley towards Cone Saddle. The track climbs steeply until it reaches the ridge and another track junction. Again, take the right hand track towards Waiohine Road End (the track you came up on), rather than going towards Cone Saddle. The track follows the ridge, then descends all the way into the Waiohine Valley. Cross the bridge over the river, then you will reach the road end.
The track starts from Waiohine Road End and Campsite. The nearest towns to Waiohine Road End are Carterton and Greytown. Waiohine Gorge Road is gravel with rough, narrow, and windy sections. There are two forded stream crossings. Drive carefully. Use this location in Google Maps to find your way there.
We encourage you to continue gaining the skills and knowledge required for a safe trip. The NZ Mountain Safety Council has lots of free resources and information you can use. These can be accessed via www.mountainsafety.org.nz . Level up in your outdoor knowledge with these interactive online learning tools: Trip Planning Tramping / field Skills Basic Navigation River Safety Additionally, check out the range of helpful videos available from the NZ Mountain Safety Council YouTube channel .
Dogs allowed. Keep dog under control at all times.
Track information, access and weather can change. Confirm current alerts and land-manager information close to departure, tell someone your plans, and carry equipment appropriate for the route and conditions.